As a going away gift before she left for college, I decided to make her paleo almond biscotti. This recipe can be found on Steak and Sass. Scroll down to below all but the very last picture to read this short recipe, then follow along!
This was actually the first time I'd ever made biscotti, or made a paleo baked good, or even worked with almond and coconut flour. I know, so many firsts! Quite the adventure.
The Ingredients

No modifications. You don't mess around with this paleo shizz.
The Process
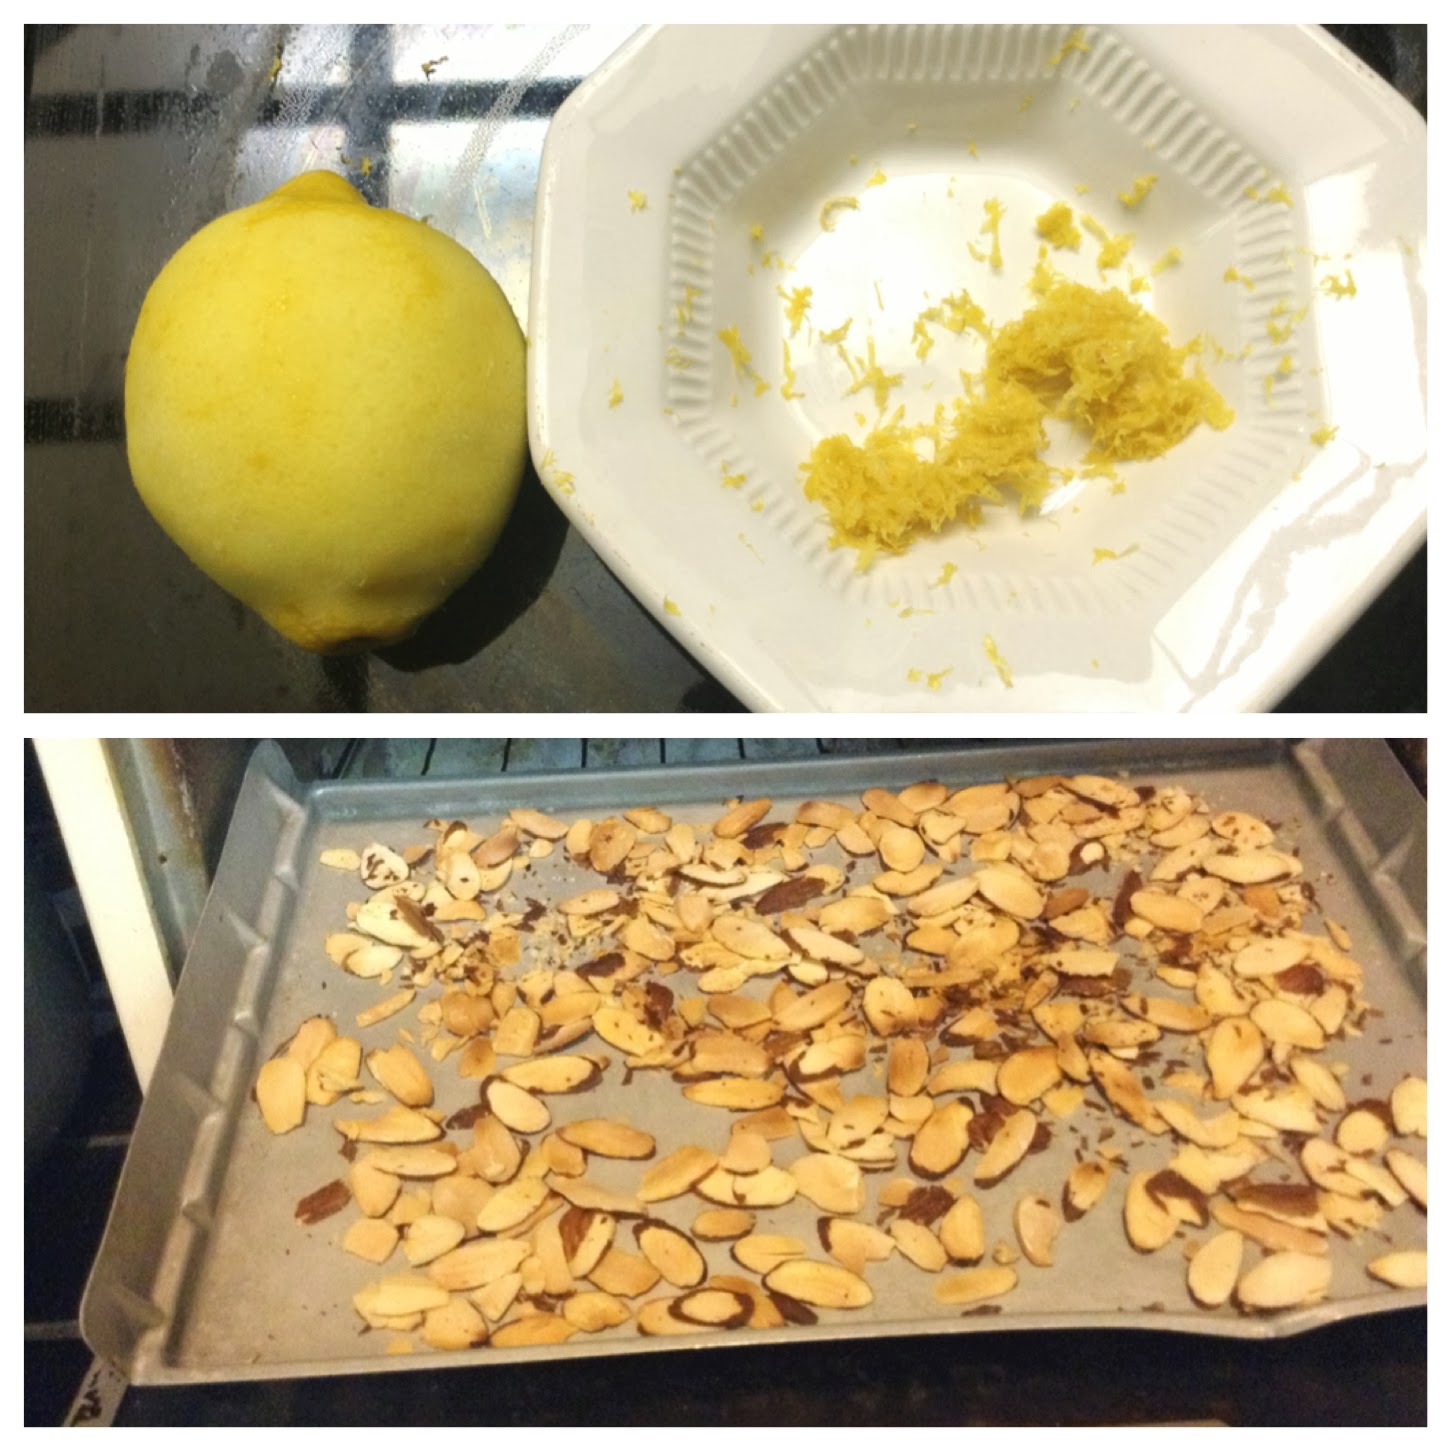
Begin by grating your lemon and toasting your almond slivers.
This is one of the things I find very funny about recipes; they often call for ingredients that you have to prepare, but don't factor these steps into the process or time.
Because seriously, no one has the zest of one lemon and toasted almonds at the drop of a hat. Only unless you do, which you don't. So don't even try to lie.

Of course, I couldn't take a picture of myself drizzling in the honey and syrup while simultaneously continuing to pulse the food processor (that does indeed take two hands). Please, don't just dump it all in, or else you'll have a big ol' gooey glob surrounded by dry flour (and I don't have to tell you from experience!).
I was a little worried as I'd never used almond or coconut flour before, and didn't really know what to expect when the recipe says the dough will "form a ball around the blades." Luckily, it wasn't hard to figure out what this meant. (Refer to picture above; it also happens very quickly, so you can easily tell it's done.)
The fact that the dough is sticky is not a lie. However, since we're working with almond slivers, you really should use your hands to incorporate them into the dough. Using a spoon will just completely crush them. Along these lines, do expect a lot of the almonds to break; no biggie.
I suggest doing this in a small bowl. It's not much dough to work with.

Though I made my dough about an inch thick like directed, I made it too wide. I think this minutely affected my biscotti later on, and really just texture wise.
 You can see that when I cut it after the first initial bake, the dough isn't as dense as the ones in the original pictures on Steak and Sass. I think compressing it into a thinner "log" would have helped
with this, and also made it cook a little more in the middle. Also, I just ended up with freakishly long biscotti.
The fact that it'll crumble is no lie. Try your best to smash the crumbled pieces back together.
I let my biscotti dry overnight, but didn't leave them in the oven with the door cracked, cuz that activates the light in my oven. I didn't want to waste all of that energy or blow the lightbulb. (Can you imagine trying to change an oven light? Yeah, not happening, especially after having to fix the vent already this month.)
The fact that my biscotti weren't as dense also meant that the end product wasn't as crunchy. It was actually pretty crumbly, which can also be attributed to being so long.
The Final Product

Some Notes
Yeah that tea cup is completely empty. Whatevs.
Please remember I've never made biscotti before, or even really ever eaten them in general. So I really have no clue how to compare these to regular, gluten-filled biscotti flavor and texture. The comparisons I've made pretty much originate from reading the blog I got the original recipe from.
Did you know that biscotti is the plural form of biscotto?
If I Could Do It Again....
I'd make the dough log not so wide, and try to compact it more together.
The Final Verdict
These were pretty good! I was a little disappointed with the texture, but definitely not with the flavor. I really loved the natural sweetness the honey and maple syrup provided. It just tasted better than regular refined sugar, and also complemented the almond flavor really well!
Do note that while this isn't a labor intensive recipe, there is a lot of down time
But the best part of making this was being able to give them to my friend, who absolutely loved them! It was really the first time she'd had a baked dessert, or something similar to the texture of flour. She was so happy, which made me so happy. Yay happiness!

She was so happy she even took a silly picture with a biscotto, without any prompt from me!
No comments:
Post a Comment